
13 Jan How Do You Shape a Sacchetti?
Sacchetti, also known as sachet or little sachets, are small pouches filled with aromatic herbs, flowers, spices, essential oils, or potpourri. They are a traditional craft in many cultures and are used to scent clothing, linens, closets, drawers, or as decorations. Shaping and filling sacchetti can be a fun and creative DIY project. With some basic materials and techniques, you’ll be making beautiful custom shape a sacchetti in no time.
Materials Needed
Shaping sacchetti starts with gathering the right materials:
- Fabric – Look for lightweight, breathable fabrics like cotton, linen, silk, or muslin in the colors and patterns you prefer. Avoid heavy or waterproof fabrics. You’ll need approximately 6×6 inch pieces.
- Dried herbs, flowers, spices, essential oils, potpourri – Choose ingredients with appealing scents like lavender, rose petals, lemon peel, vanilla, cinnamon sticks, cloves, pine needles, etc.
- Pinking shears – These scissors cut a zig-zag edge to help prevent fraying. Regular scissors can also work.
- Needle and thread – Use all-purpose thread that matches your fabric color. Beading thread or fine fishing line also works.
- Ribbon, twine, raffia, or cord – For tying the sachet closed. Around 12 inches long per sachet.
- Measuring tape or ruler – To measure even sizes.
- Iron and ironing board – For pressing and flattening the fabric.
- Parchment paper – To prevent leaks if using oils.
- Funnel – For easily filling the sachets.
- Spoon – For scooping ingredients.
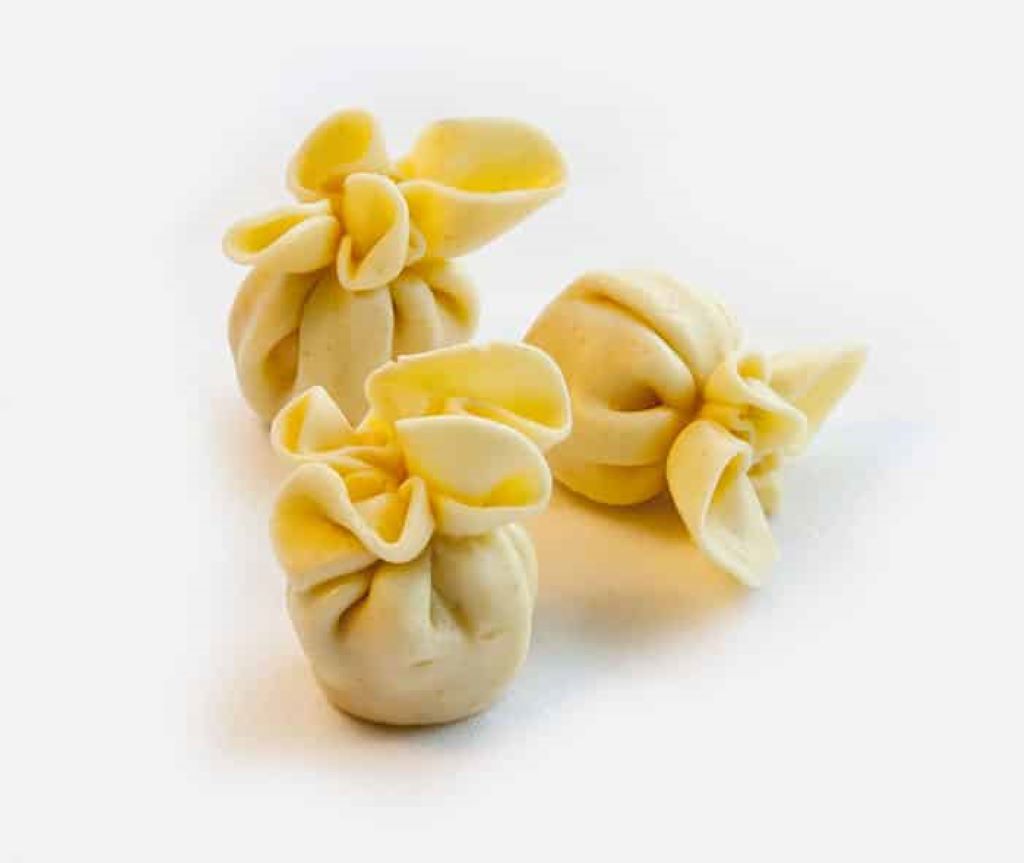
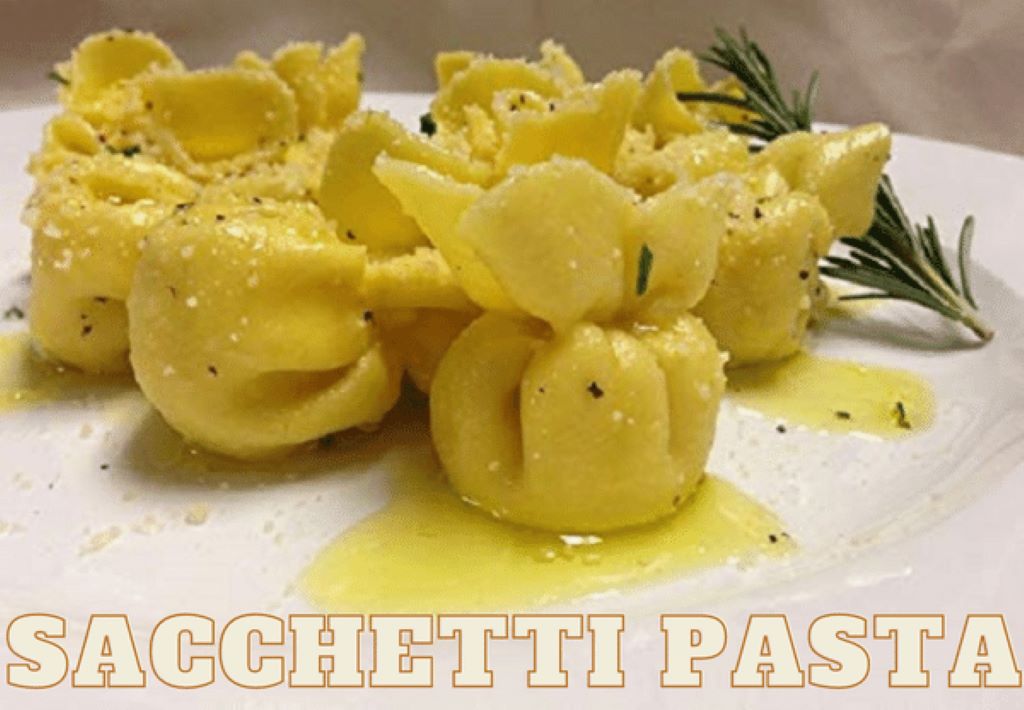
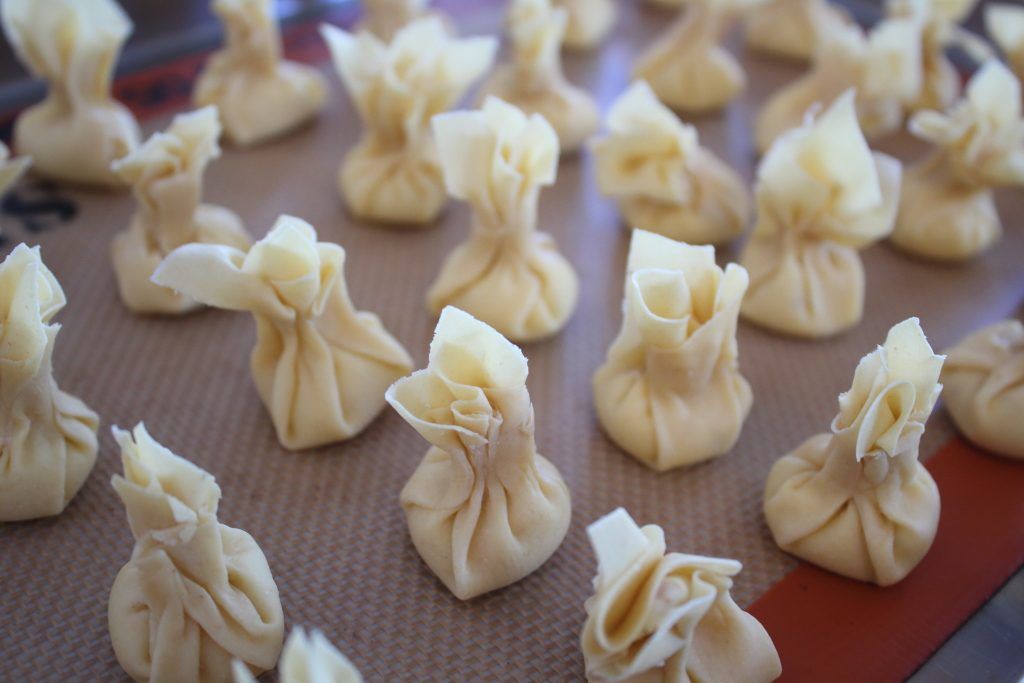
With the materials gathered, it’s time to start shaping! Now, explore Sacchetti pasta recipe.
Cutting and Pressing the Fabric
- First, cut or tear your fabric into 6×6 inch squares. The exact size can vary depending on preference. Smaller sachets (4×4 inches) work for drawers while larger pieces (8×8 inches) allow more filling capacity.
- Next, use the iron on a cotton or linen setting to press and flatten the fabric pieces. This makes them easier to work with.
- For fabrics prone to fraying, use pinking shears to cut a zig-zagged edge. This helps the edges hold together.
- Cut ribbon, twine or raffia into 12 inch long pieces – one per sachet. Set these aside for later.
Now the fabric is prepped and ready for assembly!
Filling and Shaping Methods
There are a few techniques for shaping sacchetti, depending on the desired look and use.
Square or Rectangle Shaped
- Place your fabric piece face down in front of you.
- Spoon approximately 1-2 tablespoons of your filling ingredients into the center. Herbs and flowers work best for this method.
- Pick up the top and bottom edges and bring them together above the filling. Make sure the edges align.
- Sew up both sides using a basic running stitch, leaving the top open. Knot securely.
- Pour in any remaining ingredients through the opening.
- Finish by tying off the top with ribbon or twine. Make a cute bow if desired!
The end result is a little square or rectangular pillow-like sachet. Easy and tidy!
Teabag Inspired
For a teabag inspired shape:
- Place the fabric face down in a diamond orientation, with a corner facing you.
- Spoon a line of filling across the middle. About 1-2 tablespoons.
- Pick up the bottom corner facing you and fold it over the filling to meet the top corner.
- Sew up both sides using a basic running stitch. Leave an inch unsewn at the top.
- Turn the sachet right side out through the opening.
- Pour any remaining ingredients inside and shake gently to distribute.
- Knot the top corners together with a piece of beading thread or fine fishing line.
The final look resembles a giant teabag with gathered corners.
Drawstring Pouch
For a cinched drawstring pouch:
- Stack two pieces of fabric face to face.
- Sew up both sides and across the bottom using a 1⁄4 inch seam allowance. Leave the top open.
- Clip the corners diagonally to reduce bulk. Turn right side out.
- Use a funnel to fill the pouch with potpourri or essential oils. Don’t overstuff.
- Cut two 6 inch pieces of cording. Attach safety pins to the ends.
- Feed the cords through the top opening using a bodkin tool or safety pin.
- Pull the cords tight and knot them securely to cinch the pouch closed.
- Trim the ends for a tidy finish.
The drawstrings allow easy opening and closing for refilling when needed.
Simple Sachet Bundles
For a fuss-free technique:
- Stack two pieces of fabric face to face.
- Place a spoonful of filling in the center.
- Gather up the corners and tie tightly with twine or ribbon. Make double knots.
- Fluff and shape with your fingers to distribute the filling.
- Finish by trimming loose threads.
These little sachet bundles are quick to make and have a rustic farmhouse look.
Shaping and Styling Tips
- For soft shapes, under stuff slightly and tie loose knots. For firmer designs, compact the filling tightly.
- To make miniature sachets, simply cut smaller 3×3 or 4×4 inch squares. They work great on gift tags!
- For gift giving, use coordinating ribbons, fabrics, and garnishes to create themed sets.
- Display in bowls or tie onto hangers and garlands for instant room fragrance.
- For wedding favors, attach a tag with the bride and groom’s name and wedding date.
- Store sachets in sealed containers or bags to retain fragrance between uses.
- Refill when the scent fades by gently opening a side seam and replacing the interior.
Favorite Filling Combinations
Experiment with different ingredient mixes to create custom scents. Some suggested combinations:
- Floral: Rose petals, lavender, chamomile, lilac, orange blossoms
- Fruity: Lemon peel, orange peel, cranberry, sliced apples, rosehips
- Spicy: Cinnamon sticks, whole cloves, allspice berries, anise or fennel seed
- Earthy: Pine needles, eucalyptus, cypress, cedar chips, fir sprigs
- Minty: Peppermint, spearmint, wintergreen leaves
- Calming: Chamomile, catnip, rose, vanilla, lavender
- Uplifting: Lemon, grapefruit, bay leaves, basil, coffee beans
- Holiday: Cranberries, oranges, pine, cinnamon, cloves
The options are endless! Blend and test until you find your perfect match.
Presentation Ideas
Once shaped and filled, Sacchetti make charming gifts, decorations, and potpourri. Here are some ways to present them:
- Tie onto wrapped gifts as gift topper bows.
- Hang in closets or wardrobes to lightly scent clothing and linens.
- Tuck into dresser drawers to scent socks, undergarments, and other items.
- Display in glass jars, bowls, baskets, or vases.
- Group multiples into sachet wreaths for a fragrant wall decoration.
- Sew into small pillows or pouches as Traveller’s gifts.
- Place inside gift bags and boxes to scent tissue paper.
- Hang from ribbon garlands draped on mantles, stair railings, or doorways.
- Nestle into the ribbons of floral bouquets.
- Embellish with beads, buttons, embroidery, or other embellishments.
Whatever the use, handmade Sacchetti add a special touch of style, scent, and thoughtfulness!
Troubleshooting Issues
Making Sacchetti is generally simple but here are some common issues and fixes:
Fabric won’t hold shape: Use a sturdier fabric like cotton duck or canvas. Or add interfacing ironed to the wrong side.
Edges fraying: Finish edges with pinking shears or zigzag stitching. Or encase edges in binding tape.
Filling leaks out: Make sure seams are tightly sewn. Use finer ingredients that won’t sift out easily. Or wrap interior in parchment paper first.
Scent fades quickly: Use oils vs. dried ingredients. Or add a fixative like orris root powder to the mix. Store in sealed containers between use.
Drawstrings won’t cinch: Make sure they are pulled evenly on both sides. You may need to re-position the inner seam.
Fabric discolors: Some ingredients can stain fabric over time. Use a barrier like cheesecloth or parchment paper.
With some trial and error, you’ll get the hang of making Sacchetti that are both beautiful and functional. Part of the fun is experimenting until you master your own unique sachet designs.
Frequently Asked Questions
What’s the best way to dry herbs and flowers for sachet filling?
The best way is air drying. Spread plant materials in a single layer on baking sheets. Place somewhere warm, dry, and well-ventilated. Turn occasionally until completely dry. Dried botanicals should crumble easily between your fingers.
How much filling should I use to scent a sachet?
As a general rule, use 1-2 tablespoons of filling per 6×6 inch sachet. You can add more for extra strength but don’t overstuff. The filling should have room to move around inside so the fragrance permeates the fabric.
What’s the difference between sachets, potpourri, and pomanders?
Sachets are small fabric pouches filled with scented materials. Potpourri is a mix of dried, fragrant plant materials used inside containers. Pomanders are mixtures coated in spices and oils and hung ornamentally. But the terms are sometimes used interchangeably.
Which essential oils scent sachets the longest?
Oils derived from tree resin sources like spruce, pine, cedarwood, and frankincense tend to have the best staying power. Start with just 2-3 drops per sachet. You can always add more oil later as the scent fades.
Can I reuse old sachets?
Absolutely! Just open a side seam, empty out the stale filling, and replace it with fresh dried herbs, flowers or a few drops of essential oil. Re-sew the seam tightly and the refreshed sachet is ready to go again.
Conclusion
Crafting custom scented sachets is an enjoyable way to create unique handmade gifts and decor. With just basic sewing skills and some aromatic ingredients, you can shape a variety of pouch designs to suit any purpose. Indulge in the delightful world of flavors with a Creamy lemon yogurt cake recipe for kids, and as a bonus, infuse your surroundings with a personalized touch by crafting Sacchetti scented with your special herb and flower blends. Let your creativity bloom as you embark on the journey of creating both delicious treats and fragrant additions to any space or occasion.
Sorry, the comment form is closed at this time.